In the world of automotive painting and industrial finishes, the quality of your paint job is paramount. One critical component that ensures the cleanliness and efficiency of your paint booth is the ceiling filter. Over time, these filters can become clogged with paint particles, dust, and debris, leading to poor air quality, uneven paint jobs, and potentially hazardous working conditions. This comprehensive guide will lead you through the process of replacing a paint booth ceiling filter, ensuring flawless paint jobs and maintaining a safe work environment.
Introduction to Paint Booth Ceiling Filters
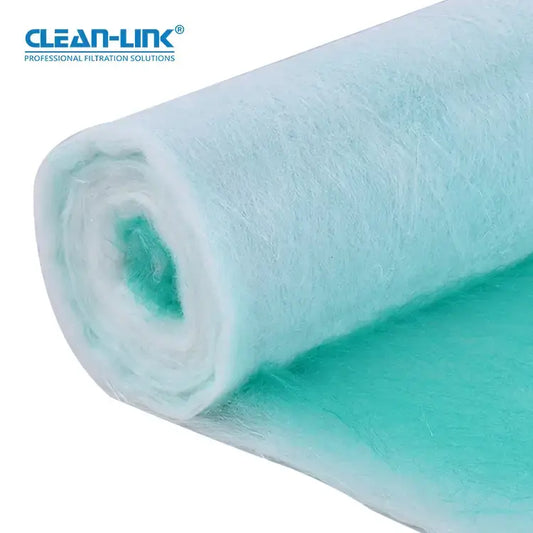
Ceiling filters play a crucial role in the operation of paint booths. They are responsible for trapping particles and contaminants, providing cleaner paint jobs, maintaining proper pressure, and ensuring optimal burner performance. Overlooking the maintenance of these filters can lead to a myriad of problems, affecting both the quality of your work and the longevity of your equipment.
Step-by-Step Guide to Replacing Your Ceiling Filter
Preparation: Before you begin, ensure you have the necessary tools on hand. You will need a ladder, a half-inch wrench, and a clean workspace. Safety should be your top priority, so make sure to wear appropriate protective gear throughout the process.
Step 1: Removing the Old Filter
- Climb the ladder to access the ceiling filter compartment.
- Use the half-inch wrench to loosen the whirly birds (fasteners) by about a quarter turn each.
- Carefully lower the filter by turning the whirly birds to the flat side down, ensuring you hold onto the center bar to avoid damaging the filter or the mechanism.
Step 2: Preparing the New Filter
- With the old filter removed, take this opportunity to clean the filter rack using a tack cloth. It's essential to remove all dust and debris to ensure the new filter functions correctly.
- Ensure your hands are clean before handling the new filter, as these are often tacky on one side to catch and hold dirt. Any dirt on your hands can transfer to the filter, compromising its efficiency.
Step 3: Installing the New Filter
- Carefully place the new filter onto the rack, tacky side down, centering it as best as possible.
- Begin at one corner and use a screwdriver to tuck the filter edges into the rack. This process may require some patience and precision to ensure the filter is secure and evenly placed.
- Once all four corners are tucked in, you can use a pizza cutter or continue with the screwdriver to ensure the filter is snug against the sides of the rack.
Step 4: Reinstalling the Filter Rack
- Clean the pressurization plates and any other components removed during the process outside of the booth to prevent contaminating the newly installed filter.
- Carefully climb the ladder with the filter rack and reinstall it in the ceiling compartment, securing it with the whirly birds. Ensure the filter is centered and there are no gaps around the edges.
Final Checks and Maintenance Tips
Once installed, inspect the filter and its housing for any misalignments or gaps that could affect performance. It's recommended to run your equipment for 30 to 45 minutes after installing a new filter. This helps to clean the booth and remove any remaining dust or debris.
Conclusion: Ensuring Optimal Performance
Replacing your paint booth's ceiling filter is a critical maintenance task that should not be overlooked. By following these steps, you can ensure your paint booth operates efficiently, providing clean, even paint jobs and a safe working environment. Regular maintenance and timely filter replacements are key to extending the life of your equipment and maintaining the quality of your work.
Remember, the quality of your paint jobs is a reflection of the care and attention you put into maintaining your equipment. By keeping your paint booth's ceiling filter in top condition, you're not only protecting your investment but also upholding the standard of excellence in your work.